Introduction
Looking for a fun drink that feels a little special but takes almost no effort? Pink sprite is a light, fizzy drink with a soft fruity twist that instantly brightens any table. It’s the kind of thing I like to mix up on a warm afternoon or when guests drop by unexpectedly. The color alone makes it feel cheerful, and the taste is refreshing without being too sweet. You only need a few simple ingredients, and everything comes together in minutes. It works just as well for family dinners as it does for relaxed weekend treats.
Why You Will Love This Recipe
Want something quick that still feels homemade and thoughtful? This drink is one of those easy wins you’ll keep coming back to. Pink sprite is budget-friendly, uses simple store ingredients, and comes together in no time. It’s perfect for busy evenings when you don’t want to spend extra effort but still want something refreshing on the table.
It’s also very flexible—you can adjust the sweetness, the color, or even add extra fruit depending on what you have. Leftovers can stay chilled for later, and it’s easy to make a smaller batch for two or a bigger jug for guests. The light fizz and fruity touch make it a cozy, crowd-pleasing option that feels just right for everyday moments.
Ingredients
Tip: Use chilled soda for the best fizz and refreshing taste.
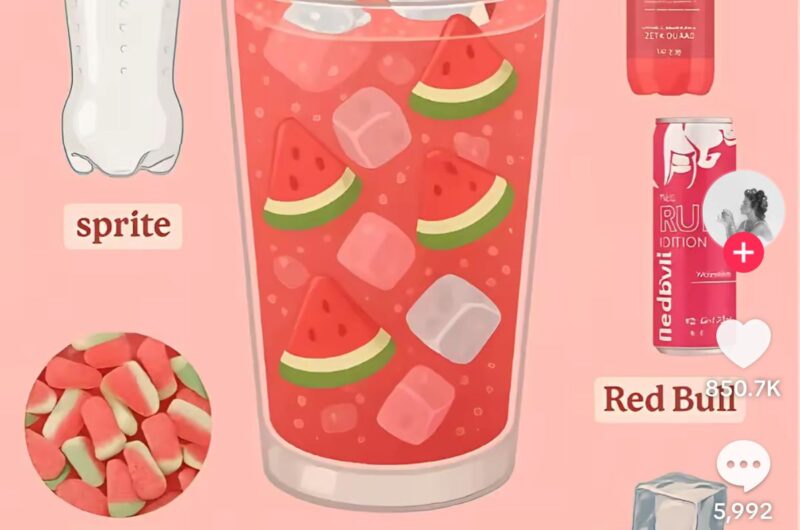
- 4 cups lemon-lime soda (cold)
- 1 cup cranberry juice or strawberry syrup
- 1 tablespoon fresh lemon juice
- 1 cup ice cubes
- ½ cup sliced strawberries (optional)
- ½ cup raspberries (optional)
For 2 people: simply halve all ingredients.
For more than 4: double or adjust as needed, keeping the same ratios.
Instructions
Step 1: Preparation –
Need a quick start without making a mess? Gather all your ingredients and chill them well. Slice the strawberries if using, and keep your glasses ready with ice. Cold ingredients help the drink stay fizzy longer and taste more refreshing.
Step 2: Main Cooking Process –
Want the best flavor balance right away? In a large jug, pour the lemon-lime soda slowly to keep the bubbles. Add cranberry juice or syrup gently, letting it settle naturally without stirring too fast so the fizz stays lively.
Step 3: Combining Ingredients –
Trying to get that pretty pink color just right? Add lemon juice and lightly stir once or twice. Drop in the sliced fruits for extra flavor. If making for two, use a smaller jug; for larger servings, mix in batches to keep freshness.
Step 4: Finishing & Final Simmer – 40 words
Worried about losing the fizz before serving? Pour immediately into ice-filled glasses and serve fresh. Let it sit just a minute so flavors blend, but not too long. For bigger groups, prepare just before serving to keep the bubbles lively.
Why This Recipe Works for Busy Days
Need something fast that still feels thoughtful? This drink comes together in minutes with no cooking or cleanup stress. You can prep ingredients ahead and mix when needed. It’s perfect for saving time while still offering something refreshing and homemade later in the day.
Tips & Tricks
- Wondering why your drink goes flat quickly? Always pour soda last and avoid over-stirring. Gentle mixing keeps the bubbles fresh. If making a smaller batch for two, mix directly in glasses. For larger groups, prepare in small batches instead of one big jug.
- Trying to get the perfect pink shade? Start with less juice and add more slowly. Some juices are stronger in color than others. For fewer servings, measure carefully to avoid overpowering flavor. For more people, taste as you scale up.
- Want extra freshness without extra work? Use frozen berries instead of ice cubes. They keep the drink cold without watering it down. For two people, a small handful works well. For larger servings, add more just before serving.
- Not sure about sweetness level? Taste before serving and adjust with a splash of lemon juice or extra soda. Smaller portions are easier to control, while larger batches may need slight adjustments to keep flavors balanced.
Variations
Meaty Version
Looking to pair this drink with something hearty? While the drink itself stays light, you can serve it alongside grilled chicken or kebabs for a fuller meal feel. For smaller servings, keep the drink simple. For larger gatherings, add extra fruit for a festive touch.
Vegetarian Option
Want to keep things fully plant-based and light? This drink already fits perfectly into a vegetarian lifestyle. Add fresh mint leaves or cucumber slices for a garden-fresh twist. For two people, just a few leaves work well; for more, increase gently without overpowering.
Ingredient Swap
Don’t have cranberry juice on hand? You can use pomegranate juice or even a mild berry syrup. Each gives a slightly different color and taste. When making for fewer people, test small amounts first. For larger batches, keep the same ratio for balance.
Flavor Boost
Want to make the flavor a bit more exciting? Add a splash of orange juice or a pinch of grated ginger for a subtle kick. For smaller servings, go light so it doesn’t overpower. For bigger groups, mix gradually and taste as you go.
Serving Suggestions
- Chilled Glasses
Want your drink to feel extra refreshing? Serve in chilled glasses with plenty of ice. This keeps the pink sprite crisp and cool. For two people, use smaller glasses. For gatherings, use larger serving glasses to keep refills easy and smooth. - With Light Snacks
Thinking about a simple pairing? Serve with light snacks like crackers, sandwiches, or fruit platters. The drink balances well with mild flavors. For smaller servings, keep snacks minimal. For larger groups, arrange a small snack table for easy serving. - Party Style Pitcher
Hosting friends at home? Pour into a clear pitcher with floating fruits for a pretty look. It makes the drink feel more special without extra effort. For two, a small jug works fine; for more people, refill in batches to keep it fresh. - Outdoor Refreshment
Planning a relaxed outdoor moment? Serve this drink during picnics or garden time. It stays light and refreshing in warm weather. For small servings, pack a bottle. For larger groups, carry ingredients separately and mix fresh on the spot.
Storage Instructions
- Fridge Storage
Wondering if you can store leftovers? Keep the drink in a covered jug in the fridge for up to one day. The fizz will reduce slightly over time. Smaller portions hold better, while larger batches may lose bubbles faster. - Reheating
Thinking about reheating? This drink is best served cold and should not be reheated. If it loses its fizz, add a splash of fresh soda before serving again. For smaller servings, refresh directly in the glass. - Freezing
Want to freeze it for later? It’s better to freeze the juice portion only, not the soda. Thaw and mix fresh with soda when needed. For two servings, freeze in small containers. For more, use larger batches but mix fresh each time. - Make-Ahead Tips
Trying to prepare ahead of time? Mix the juice and fruit first and store in the fridge. Add soda just before serving to keep it fizzy. For small servings, prepare in cups. For larger gatherings, keep base ready and mix fresh.
Recipe Timing
Prep Time: 10 minutes
Cook Time: 0 minutes
Rest Time: 2 minutes
Total Time: 12 minutes
Nutrition Information (Approximate)
Wondering what you’re drinking? Each serving has about 90–120 calories depending on the juice used. Protein is minimal, around 0–1g. It may provide small amounts of vitamin C from lemon and fruit. Values are estimates and may vary by ingredients and portion size.
FAQs
Can I make this ahead of time?
Yes, prepare the juice base early and add soda just before serving.
Why did my drink lose its fizz?
Over-stirring or early mixing can reduce bubbles. Always mix gently and serve fresh.
Can I use a different juice?
Yes, pomegranate or berry juice works well. Adjust to taste for small or large batches.
Why is my drink too strong?
Add more soda to balance. Smaller servings are easier to adjust quickly.
How long can I store it?
Up to one day in the fridge, but best enjoyed fresh.
Can I make it less sweet?
Yes, add more lemon juice or reduce syrup for better balance.
Conclusion
Looking for a simple way to brighten your day? Pink sprite is one of those easy recipes that brings a little joy without extra effort. You can adjust it based on what you have, make it for a quiet evening, or scale it up for guests. It’s light, refreshing, and flexible enough to fit into everyday life. Once you try it, you’ll likely keep it in your go-to list for quick drinks. Whether it’s a warm afternoon or a cozy family moment, this drink always feels like a good idea.
Recipe Card
Pink Sprite
Course: recipe4
servings10
minutes90–120
kcalIngredients
4 cups lemon-lime soda (cold)
1 cup cranberry juice or strawberry syrup
1 tablespoon fresh lemon juice
1 cup ice cubes
½ cup sliced strawberries (optional)
For 2 people: use half of each ingredient.
For more than 4: double ingredients as needed.
Directions
- Gather all ingredients and chill them well. Slice fruits if using and prepare glasses with ice.
- Pour soda slowly into a jug, then gently add cranberry juice or syrup.
- Add lemon juice and stir lightly. Add fruits if using.
- Pour into glasses and serve immediately for best fizz and taste.